Table of Contents Show
Hiking can be an incredible way to get fresh air and experience some of nature’s best landscapes. However, all hikes are not equal, and some can leave you feeling like you’ve been chewed up and spat out when you finish them.
That’s exactly how we felt when we first encountered a trail with several switchbacks. We huffed and puffed from start to finish.
So what is a switchback, and should they concern you while hiking? Let’s take a look.
What Is a Switchback When Hiking?
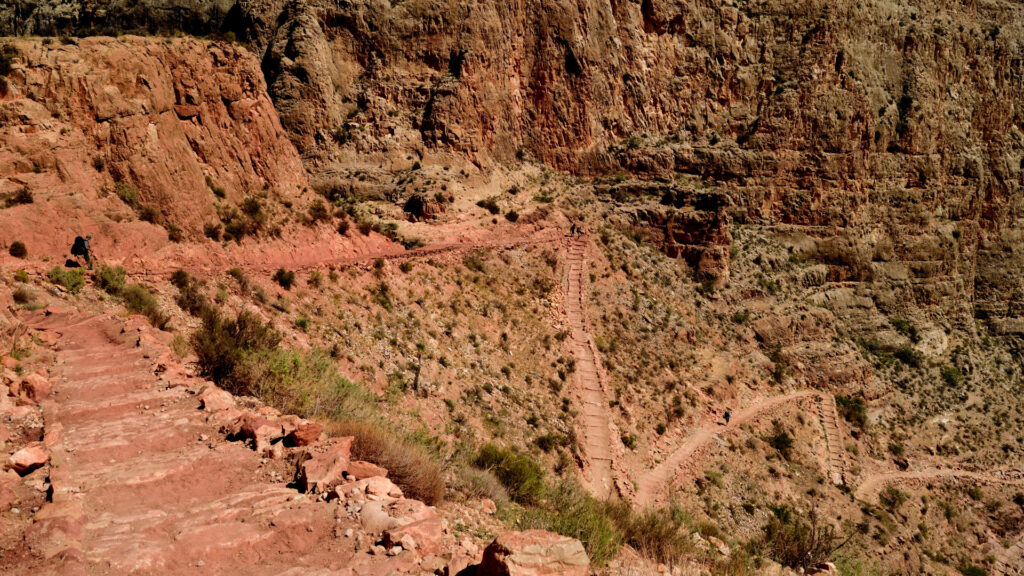
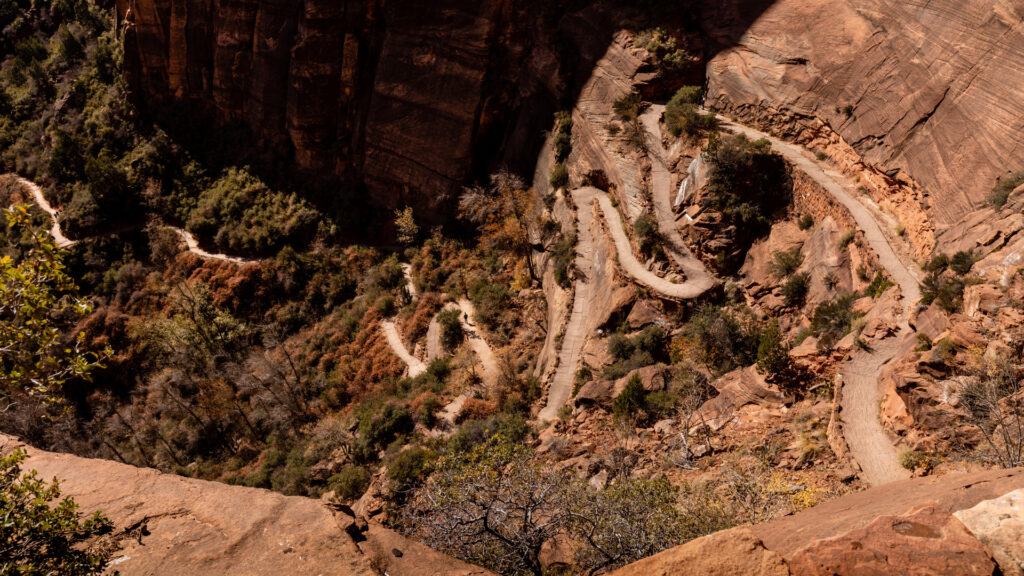
A switchback is a 180-degree curve or bends along a path or trail. In many instances, there are multiple switchbacks closely together, which creates a zig-zag pattern along the path.
You’ll typically find these in mountainous or hilly regions where there’s a drastic change in the terrain or slope of the trail.
What is the Purpose of a Switchback?
The purpose of a switchback is to reduce the intensity of the incline or decline. Instead of a hiker having to tackle the slope all at once, a series of switchbacks allows them to break up the slope into smaller, more manageable chunks.
Without switchbacks, many hikes wouldn’t be possible for some hikers, especially those with less experience or conditioning.
However, don’t make the mistake of thinking that just because there are switchbacks that it’s going to be a piece of cake.
Depending on the intensity or length of the slope, switchbacks can be exhausting. If you’re hiking at higher elevations, you’ll quickly discover how thin the air is when you struggle to catch your breath.
Why Is it Called a Switchback?
The term switchback has been around since the mid-1800s. It originated in the railroad industry as a reference to the zig-zag railways.
The trains used a unique system of tracks to climb the sides of a mountain for logging or mining purposes. You can now find switchbacks on paved roads, off-road trails, and hiking paths.
Switchbacks result in the individual or vehicle making a 180-degree change in direction as they conquer a slope or elevation gain. It’s more than just a curve in the road or path, but switching directions repeatedly.

Tips for Hiking Switchbacks
If you plan a hike you know will have switchbacks, there are some things you can do to help you conquer them.
Will they always be easy? No. However, there are a few things you can do to help you make them as painless as possible. Let’s take a look.
Prepare Yourself
It’s a good idea to prepare weeks and months ahead to ensure an enjoyable hiking experience. Depending on how far or the intensity of the hike, condition your body for it.
This may require doing a few practice hikes to prepare for those hikes that are more intense.
If you’re planning to hike at higher elevations, you may need to give your body time to adjust to the change in elevation. Some individuals begin to feel altitude sickness once they cross 8,000 or 9,000 feet elevation. It can take a few days before your body adjusts to pressure and thin air changes.
Be aware of your physical condition before setting off on any hike. You don’t want to bite off more than you can chew or put yourself in a dangerous situation. Know your limit, and don’t push yourself beyond it.
Wear the Right Shoes and Socks
If you don’t have the right shoes or socks while hiking, you can experience painful blisters and sore feet. If this is the case, you’ll be in for a very long hike!
However, you don’t want to wear a new pair of hiking boots and socks for the first time when you start a challenging hike with switchbacks. You want to break the shoes in and get used to them.
A quality pair of athletic shoes is often sufficient for most people and their hikes. Those planning to hike frequently will benefit from investing in quality hiking boots. These provide optimal traction and support to help keep your feet as comfortable as possible from one switchback to the next.

Stay on the Path
A common mistake, typically from novice hikers, is to take a shortcut and cut a switchback early. When too many people break the rules, it creates a new path that may tempt others to go off the beaten path.
These non-approved paths destroy vegetation and increase the potential for erosion. As a part of leaving no trace while in nature, do your part and stay on the designated route.
Take Breaks
Don’t be too proud to stop and take a break. There’s absolutely nothing wrong with spending a moment or two catching your breath during a hike.
You want to be able to enjoy the experience fully, and it will be difficult to enjoy if you’re gasping for air the entire time.
When you stop to take a break, ensure you’re out of the way of other hikers. You don’t want to block the trail or cause them to go off the path to get around you. Snap a picture, enjoy the view, and catch your breath as often as necessary to enjoy the hike.
Stay Hydrated and Fueled
Staying hydrated and fueled is essential, especially if you’re on a long and grueling hike with switchbacks. The more intense the hike and the heat, the more water you need. However, there’s not always a spot to resupply, so you may need to carry enough water for the hike.
Hiking can burn a tremendous amount of calories and energy. Depending on the hike, carrying some healthy snacks or a meal can help you refuel your body and put some calories and energy back into your body. It’s better to carry too much water or food and not need it than to need it but not have it.
Keep in Mind: Stay energized during your hike with these Delicious Hiking Snacks!
Famous Trails with Switchbacks
There are a couple of famous hiking trails with pretty intense switchbacks. Because of the elevation gains and terrain, we don’t advise beginners to attempt these hikes.
However, they’re incredible experiences that many can achieve if they train and prepare for them.
Angels Landing (Zion National Park)
Hiking Angels Landing is an unforgettable experience that provides one of the best views in Zion National Park. However, this is a 5.4-mile round-trip hike with an elevation gain of over 1,400 feet.
In addition, hikers must conquer Walter’s Wiggles, the 21 challenging switchbacks along the trail with minimal spots to stop and rest.
Once hikers conquer Walter’s Wiggles, they can head up to enjoy the view of Refrigerator Canyon from Scouts Lookout. While the rest of the hike is no picnic, physically or mentally, many hikers find that switchbacks are the most physically demanding section.
Keep in Mind: The Angels Landing hike isn’t for everyone Before you go, read everything you need to know about hiking Angels Landing

Mount Whitney Trail (California)
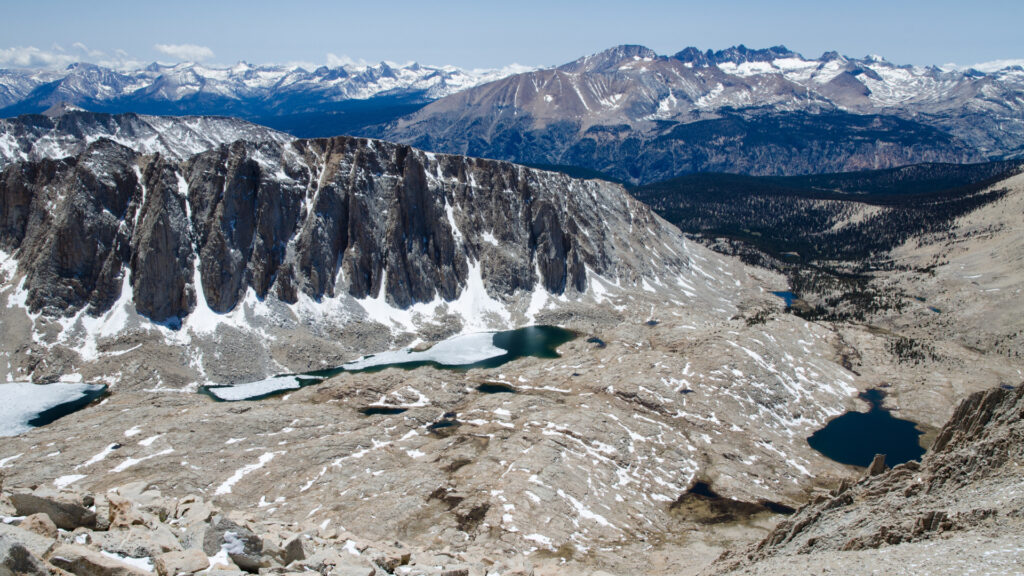
Mount Whitney is the highest point in the lower 48 states, and many hikers embark on the challenge to hike to the top. However, this is a 20-mile hike that climbs over 6,500 feet. If those aren’t scary enough, the trail has 99 switchbacks for 2.2 miles. However, these switchbacks allow hikers to climb the 1,600 elevation gain over that distance.
The trail is long, the air is thin, and many hikers overestimate their abilities. However, those hikers that make it to the top get a magnificent view of the surrounding mountains and desert lands. However, unless you’re planning this to be an overnight hike, you won’t have much time to enjoy the view.
The hike typically takes seven to eight hours, so there’s a good chance you’re either starting or ending in the dark. So make sure you come prepared!

How Many Switchbacks Can You Do?
Hiking is one of our favorite ways to experience a new area. It’s a great opportunity to see plants and animals that you may not have seen before. However, if a trail has switchbacks, it’s good to know in advance.
Discovering a couple of dozen switchbacks along the trail isn’t a surprise that most hikers want to see without a heads-up. We’ve been those hikers and have learned our lesson.
So how many switchbacks do you think you could handle?


