Table of Contents Show
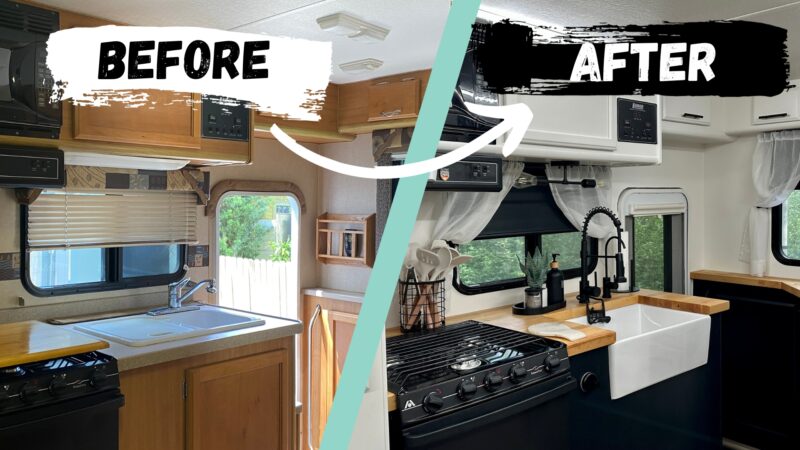
Have you ever been inspired by those HGTV renovation shows? The before and after pictures take your breath away. Naturally, we decided to do our own “RV Remodel: Before and After” series.
It wasn’t a production or anything, but we decided to try gutting our truck camper and adding our personal touches to the design. It wasn’t easy, but we love how it turned out!
Let’s take a look at what we did. Perhaps it will inspire you to make changes to your RV!
Can You Remodel an RV?
The famous phrase “If you can dream it, you can achieve it” is accurate about RVs, too. If you can imagine a more homey, comfortable, and personal space, what’s stopping you from making those changes?
RV remodels can be massive projects or tiny tweaks. You can gut an entire travel trailer and start over again, or just add some peel-and-stick wallpaper to an accent wall. You can rip out all the cabinets and build new ones or just replace an old refrigerator with a more modern one.
The manufacturer’s warranty is the biggest thing to consider before making any kind of change to your RV. Often any alteration will void the warranty on that specific part of the RV.
For example, suppose you remove the dinette in a slide and add bunk beds to suit your family’s travel needs. In that case, the manufacturer may not repair the slide should anything happen within the warranty period.
Are RV Remodels Expensive?
The changes you make will affect the overall cost of an RV remodel. If you do a complete makeover, it will be far more expensive than if you just switch out furniture. A bathroom remodel will likely be more expensive than a bedroom remodel.
Remodels also vary in price because of their quality. If you pay for higher-quality materials like quartz countertops or heated tile flooring, you’ll spend more money than someone who only paints cabinets and changes out light fixtures. Your renovation could cost a few hundred or thousands of dollars.
Why Do People Complete an RV Remodel?
People who camp often or travel full-time want their RVs to feel like home. The standard furniture usually isn’t super comfortable. The cabinet handles are typically dull. Everything is generally brown on the inside.
If you’re going to spend a lot of time in your RV, you want it to showcase your style and personality.
People also complete an RV remodel because the layout doesn’t work for them. Perhaps they’ve had an RV for years, and their needs have changed as the kids have gotten older.
Instead of purchasing another RV, which can be stressful and expensive, people remodel their older units to suit their changing needs.
Others save money upfront by purchasing a cheaper model with the plan to spend more money upgrading it. They like having a blank slate from the beginning to make the space all their own.
The Main Parts of Our RV Remodel: Before and After
When we decided to complete our RV remodel, we knew we were in for an exciting and stressful adventure. Below, we discuss the main changes we made to our truck camper.
Demolition
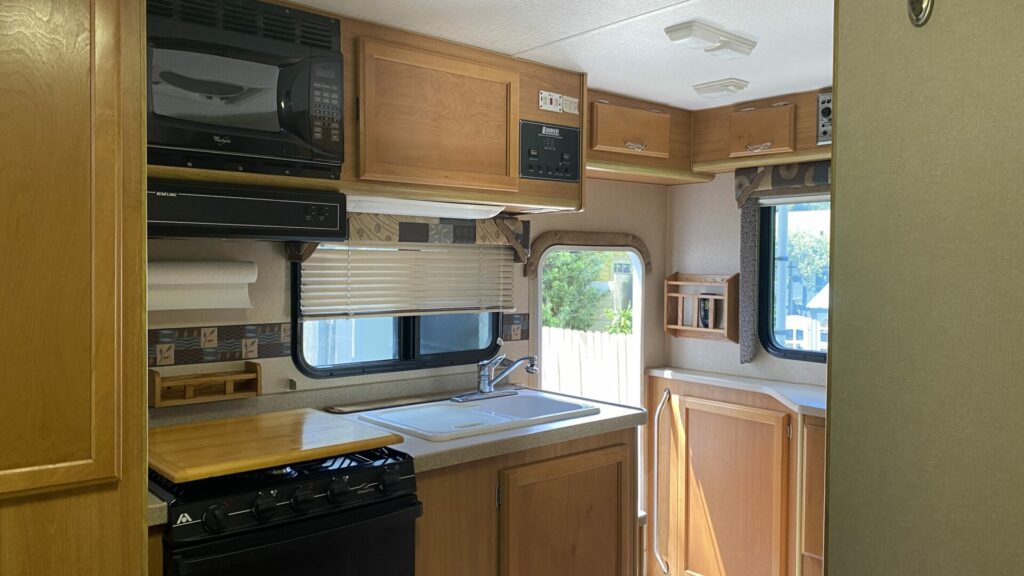
The first step of an RV remodel is deciding how much you want to demo. Also, don’t think of demo day like you see on the renovation shows. You don’t go around breaking down walls and smashing stuff. You’ll most likely reuse things, so you must approach demolition carefully.
We removed every drawer and cupboard door and labeled them so we knew where they went after we painted. This is important if you choose to paint cabinets. Always label!
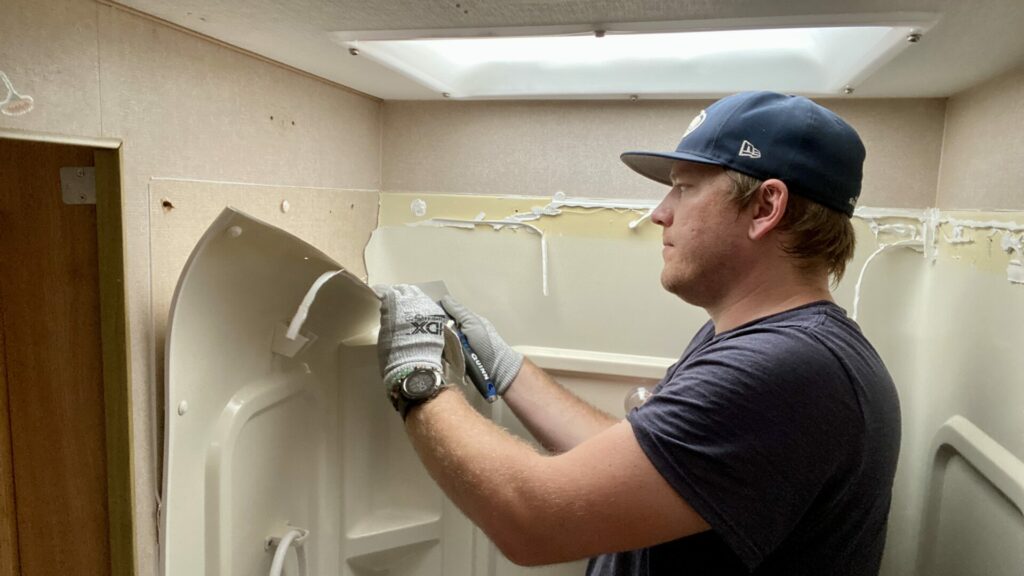
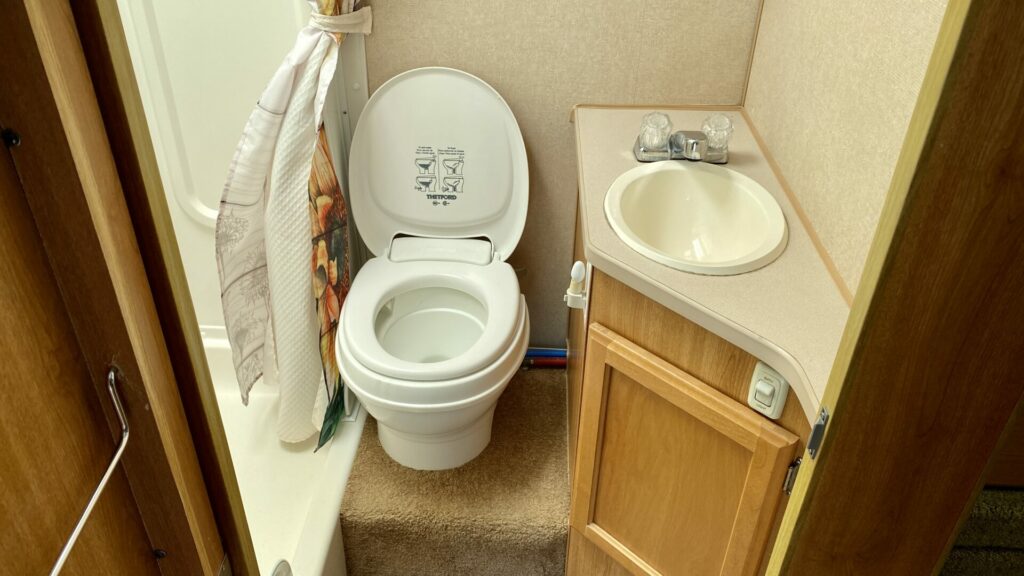
The bathroom was a different story. We did end up ripping out everything there — the shower, toilet, carpet, and counter — and that was a lot of fun!
But before you start tearing apart your RV, decide what you want to keep and what you want to throw away. You might use different colored tape or sticky notes to remind you what’s going and what’s staying.
Slide Repair
Our slide wall had serious water damage. So we had to repair it by rebuilding it from scratch. This took a ton of research, but overall, it wasn’t a hard repair. If you don’t feel comfortable making this type of repair, call a professional.
You definitely don’t want to ignore water damage or cause further problems to your slide.
Read More: See what renovations we made to our RV bedroom!
Paint
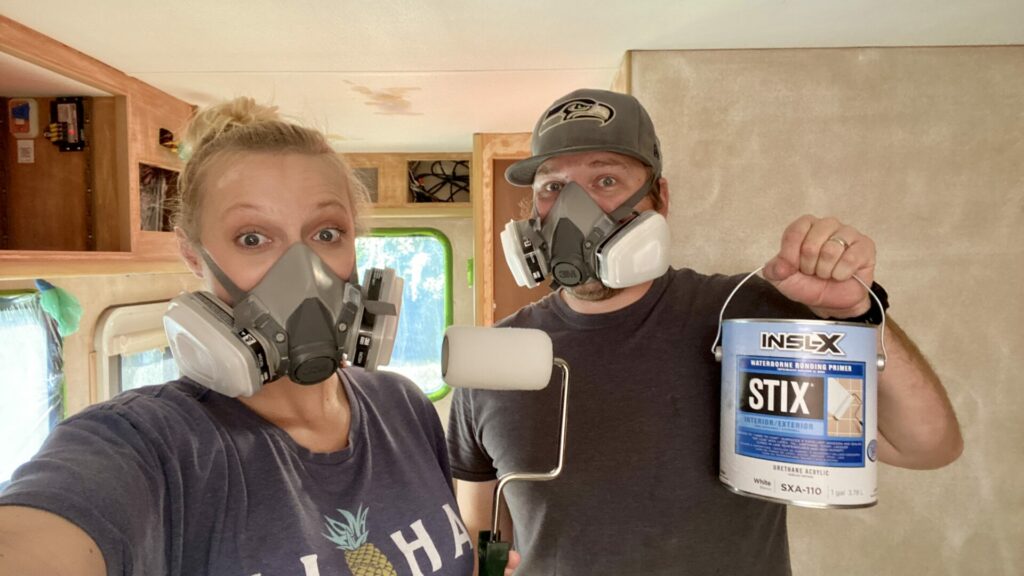
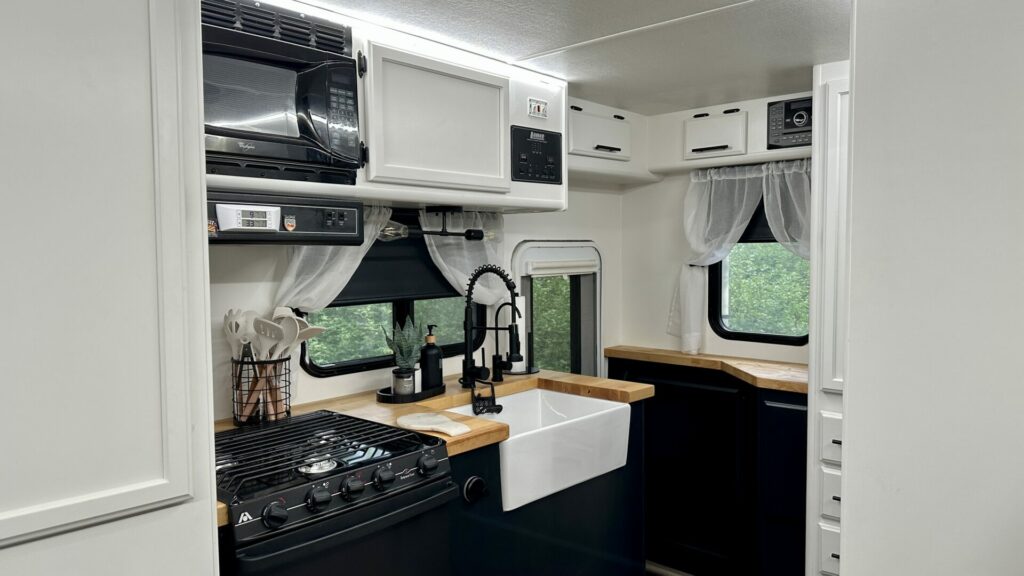
The hardest part about painting is the prep work. We sanded the walls, used TSP to clean them, and then rewashed them with plain water.
RV walls aren’t like sheetrock in a house, so the prep work is absolutely necessary to ensure the final product is what you want. Next, we put on the primer and then sanded and cleaned again.
Finally, we were ready for the first coat of paint. After it dried, we sanded and cleaned again before applying the second coat of paint. Because we applied the primer with rollers, it took us forever! So, we ended up buying a sprayer for the painting portion.
We highly recommend doing that as it makes the painting go much faster, and you get a smoother finish. We used Dove White and Standard Black from Benjamin Moore.
Accent Walls
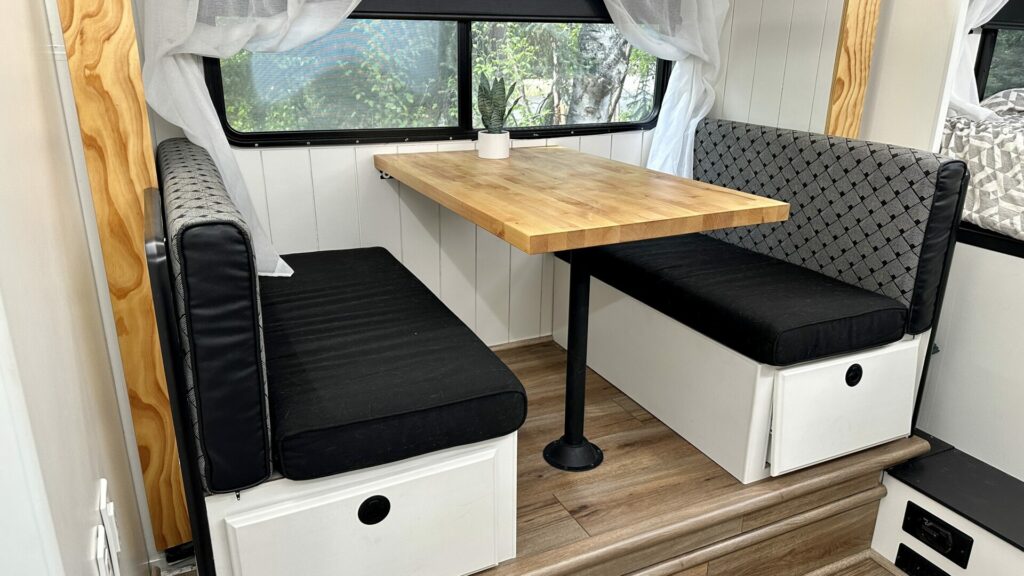
The next part of our RV remodel was the accent walls. We knew we didn’t want much decor in the camper, so we thought accent walls would create a homey feel.
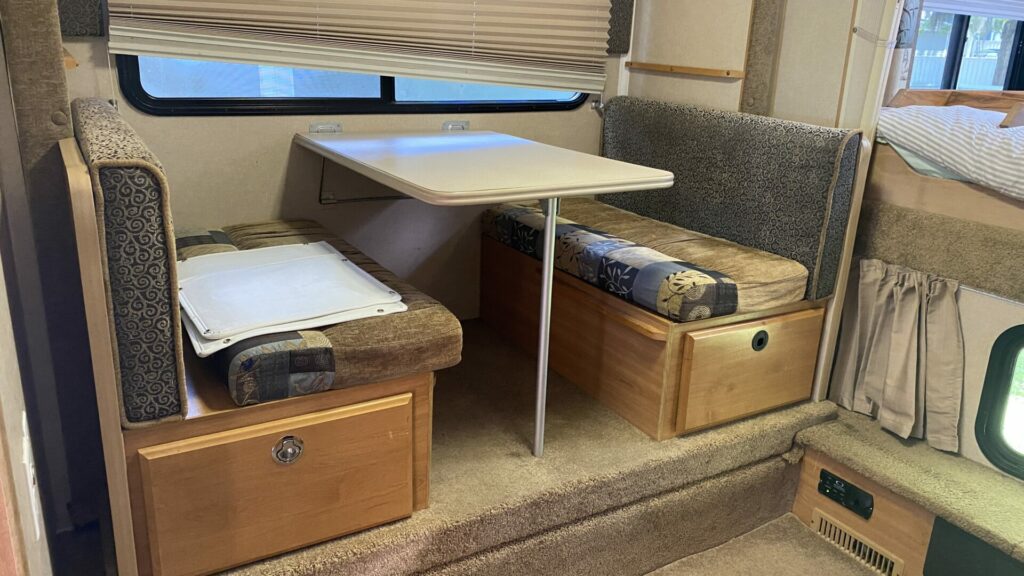
Above the bed, we did a geometric wall. In the dinette booth area, we applied faux shiplap. The accent walls turned out really well, and we were happy that we chose to go this route.
Counters
We opted for a butcher block for all four counters in the kitchen, dinette, bathroom, and entryway. This created a cohesive, uniform look throughout the camper. We stained them all the same color, “Natural” by Minwax.
Because we have limited countertop space, we could make two counters out of one block. We only had to purchase four blocks from Home Depot and cut them to shape.
Keep in Mind: Are you wanting to get an RV on a budget? Here’s how to find yourself a free RV!
Bathroom
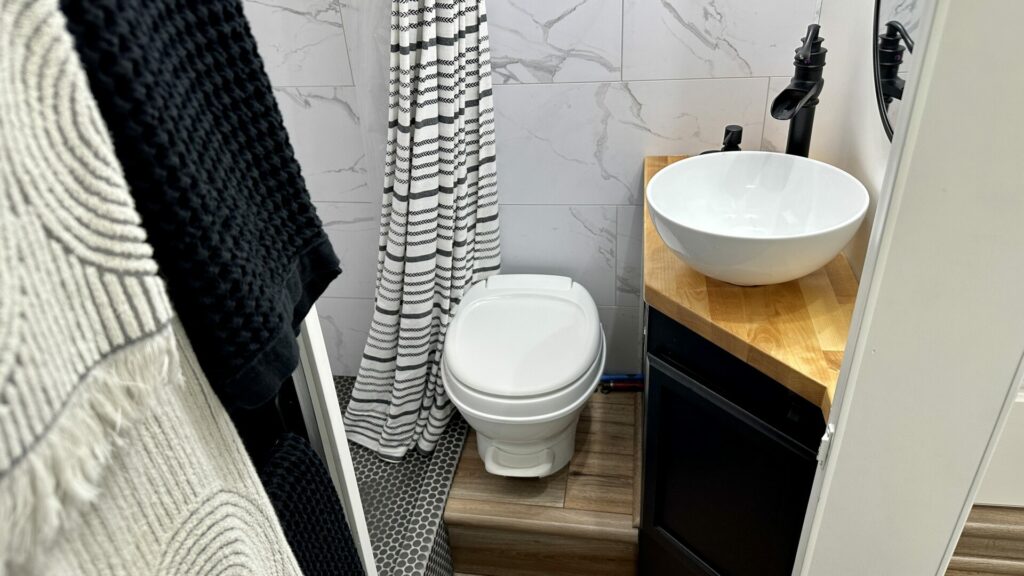
The hardest part of the RV renovation was the bathroom. It was also the most expensive at around $1,600. You have to make sure nothing leaks when remodeling a bathroom.
We chose a ceramic penny tile for the shower pan and a faux marble tile for the walls. We upgraded to a Delta shower faucet.
For the bathroom flooring, we installed SmartCore waterproof LVP flooring. Then, we installed a standard RV toilet made by Thetford. Finally, since we’ve always loved the look of bowl sinks and farmhouse-style faucets in bathrooms, we chose this style to replace the outdated vanity.
You can read about our bathroom remodel in our article “Dated to Dazzling: Our RV Bathroom Remodel.” it took so much work that it deserved its own article! But this renovation was the most rewarding of all the changes we made to our camper.
Are We Happy With Our RV Remodel?
We love having a space that is 100% us. It’s also great knowing how it was built because we can now fix anything. Paint scratched? We have the right color. Does something feel off? We’ll try a different brand of glue.
Don’t like how something turned out? We have the skills to redo it. One of the perks of doing your own RV remodel is knowing the hard work that went into it. We’re proud of the outcome!
Would We Do Another RV Remodel?
At the end of the day, we would do another renovation. But it would take some convincing. This was a big challenge for us and a steep learning curve.
Now that we have that knowledge, another remodel wouldn’t be as complicated, but it’s still tough work. It’s also hard to plan the budget when you don’t know all that a renovation entails.
Make Your RV Your Own With an RV Renovation
All the sweat, tears, and hard work pays off when your RV renovation is complete. As you look around, you see the fruits of your labor. Maybe the upgraded appliances will make camping so much more enjoyable.
Maybe the new furniture will create an inviting space to entertain guests. A remodeled bunk room may provide more play space for your kids.
So, the next time you’re considering whether or not to complete an RV renovation, look at your budget and decide what changes you want to make. Then dive in and transform the space into something you’re proud to call your own!
Have you ever completed an RV renovation? We’d love to hear about it!


