Table of Contents Show
When RVers start camping and using their RVs regularly, they may begin to realize some things just aren’t very functional. Perhaps the standard couch isn’t very comfortable.
Perhaps the dinette isn’t laid out well for their family. Many RVers switch out their furniture for residential ones that better suit their lifestyle, including their RV kitchen sink. Not all sinks are very functional or attractive.
Let’s look at how to complete an RV kitchen sink replacement so you can find a better solution for you!
Can You Replace Your RV Kitchen Sink?
Upgrading your RV kitchen sink isn’t complicated. Most sinks are over-mounted or drop-in, which are easy to install.
As long as you know what to do, you can have a new sink in a couple of hours. But before you start, figure out what kind of sink you have in place, how it’s plumbed, and the size.
Can You Replace Your RV Kitchen Sink Faucet?
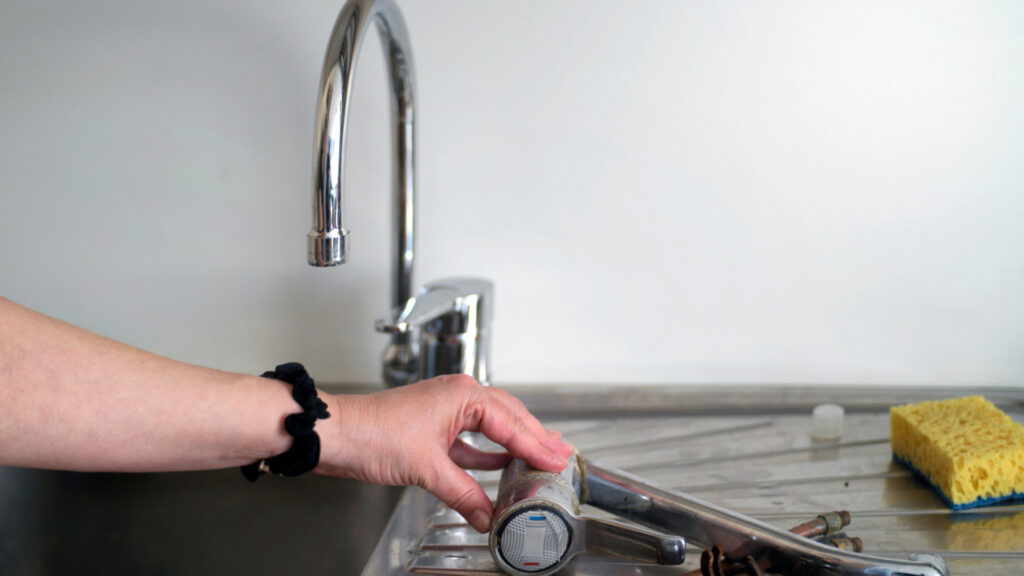
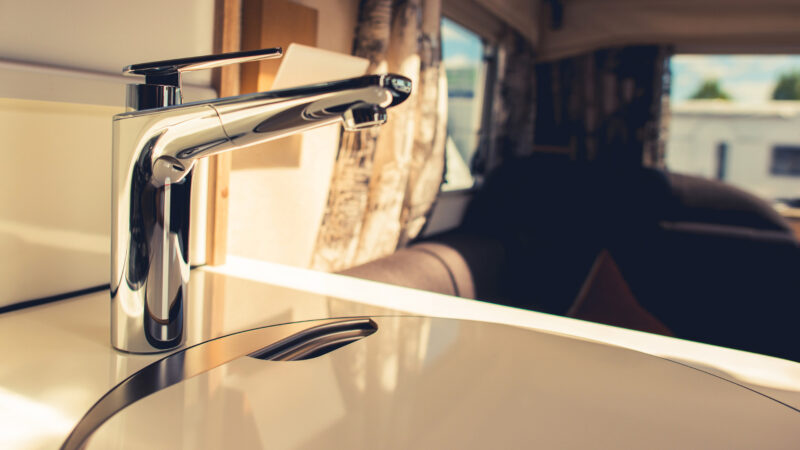
If you want to just upgrade the faucet, you can do that, too. Many RVers prefer a high-rise kitchen sink faucet. Some like a detachable hose to rinse out dishes or fill water jugs.
If your standard RV kitchen sink faucet is a nuisance, you might want to consider heading to a home improvement store to replace it. You can find some in many different styles and colors to match other hardware in the RV or give it a fresh look.

Can You Install a Regular Kitchen Sink in Your RV?
You can go to Lowe’s or Home Depot and check out residential kitchen sinks for your RV. As long as the dimensions are compatible, you can complete your RV kitchen sink replacement with a similar style as the sink in your house.
However, since houses have different plumbing systems than your typical RV, the residential fixtures might not match up to your RV’s plumbing. So you might have to buy adapters to complete the installation.
Are RV Kitchen Sinks All the Same Size?
There is no standard RV kitchen sink size. When shopping for an RV, you probably noticed this. A large fifth wheel with a kitchen island might have a stainless steel double sink, while a small travel trailer might have a tiny porcelain sink.
You’ll need to take measurements and triple-check them to ensure you buy a replacement that’ll fit. Don’t forget to measure the depth! The new sink must also fit underneath the cabinet, not just along the edges.
Thankfully, most RV kitchen sinks have a standard 2-and-1/8-inch drain hole. But as mentioned above, if you upgrade to a residential sink, check the fittings.
Why Replace Your RV Kitchen Sink?
The most common reason someone might replace an RV kitchen sink is because it doesn’t function well.
For example, a traveling couple in a Class C motorhome might not like their RV kitchen sink because they don’t have adequate space to wash dishes. A solo traveler may think the sink it works just fine because they have fewer dishes to wash.
Some RVs come with a double sink. Some people love this style, and others hate it. So often, travelers replace their kitchen sinks to make them more functional for their lifestyles.
Another reason for an RV kitchen sink replacement is to update the style. For example, someone may not like the farmhouse look of the kitchen sink. So they may switch it to a stainless steel one to match the other appliances and create a more modern look.
Finally, RV kitchen sinks can crack. When this happens, you’ll need to find a suitable replacement. You can replace it with the same sink you had before or change it up with a new design.
How to Complete Your RV Kitchen Sink Replacement
After you’ve measured three times and purchased your new RV kitchen sink, it won’t take long to complete the installation.
Typically, you can do this project without any help. But if you have a partner, having an extra set of hands might be nice. So let’s get into each step.
Turn Off Water or Disconnect From City Water
First, disconnect from your water supply. Then let the water run to eliminate any remaining in the pipes. You’ll still have some dripping as you replace the sink, so grab a couple of towels. But you shouldn’t have water pouring out of the pipes.
Keep in Mind: Before you start making renovations on your RV, make sure you know what the worst part of renovating an RV are!
Cut Through the Caulking
To replace your RV sink, you need to take out the old one. Cut through the caulking around the edges of the kitchen sink with a utility knife. You’ll need to apply some force, but be careful, as you don’t want to damage the countertop.
- PREMIUM UTILITY KNIFE SET: Experience reliable cutting with the INTERNET'S BEST Premium Utility Knife Set. Designed for...
- RETRACTABLE BLADE: Each knife in the set features an adjustable retractable blade, allowing precise cutting with ease....
Detach the Pipes From the Sink
After you’ve removed the caulk, open the cabinet doors and detach the plumbing lines. You might need pliers because they can get pretty tight. Then separate the pipes from the sink so you can remove them.
Remove the Brackets From Under the Sink
The final step in removing the old RV kitchen sink is to unscrew the brackets that connect the sink to the countertop.
You may need to lie on your back inside the cabinet and look up toward the bottom of the sink. The brackets secure the sink to the bottom of the countertop. Grab a socket wrench or pliers and remove them.
Install New Sink and Reattach All Brackets and Pipes
At this point, you might want to stand up and move about. Getting underneath that tiny space is quite uncomfortable! When you’re ready, pull the old kitchen sink out and lay it aside.
Grab the replacement and carefully place it inside the hole. Now you’ll just work backward to reattach the brackets and pipes underneath. Make sure everything is firmly secured so you don’t have water leaking.
Recaulk Around the Sink
The final step is to recaulk around the sink. This is very important as you don’t want water damage or moisture seeping through the edges of the kitchen sink.
If you’re like us, you probably splash around a bit as you wash dishes. This also helps keep it in place, which is important in a moving RV.
- SEALS OUT WATER, AIR AND MOISTURE: Gorilla Waterproof Caulk & Seal 100% Silicone Sealant* seals out water, air and...
- 30 MINUTE WATER READY: Can be exposed to water in as little as 30 minutes based on a 3/16” bead at 70°F (21°C) and...
Turn on Water
After you finish caulking and installing your sink, turn on the water again. Check underneath the cabinets to make sure you don’t have any leaks around the fittings. Now your RV kitchen sink replacement is complete!
Keep in Mind: Looking to upgrade your space? Check out these 15 RV renovation ideas!
What Are the Different Types of RV Kitchen Sinks?
RV kitchen sinks come in many materials, including plastic, acrylic, solid surface, and stainless steel. The cheapest option is a plastic sink. They’re lightweight and easy to replace, but they also crack more easily than other materials.
Acrylic sinks are a bit more durable and offer various colors. They’re more expensive than plastic sinks but less expensive than solid surface sinks. Solid surface sinks will feel residential and more luxurious but also come with a hefty price tag.
Finally, stainless steel kitchen sinks are also common because they’re not very expensive and they’re easy to clean.
Many RVers also like the look of stainless steel in the kitchen. However, these sinks weigh more. If you want to replace your RV kitchen sink, check out our post for recommendations to find the perfect match!
Enjoy a More Modern and Functional RV Kitchen Sink
Replacing your RV kitchen sink isn’t difficult. Depending on the type of sink you purchase, it can also be an affordable upgrade. So if you’re unhappy with the look of your sink or need to find something more functional, don’t be afraid to replace what you have with something better.
Have you ever completed an RV kitchen sink replacement?
Last update on 2025-01-19 / Affiliate links / Images from Amazon Product Advertising API


