Table of Contents Show
If you’re tired of the cheap RV kitchen faucet that came with your RV, you’re not alone. Many manufacturers use the cheapest faucets on the market throughout an RV.
However, many owners have higher expectations for their rig. Luckily, an RV kitchen faucet replacement is easy to find and install.
Today, we’ll walk you through replacing and upgrading the faucet in your RV. If you have a few tools and minimal DIY skills, you can knock this project out in no time. Let’s get started!
What Is an RV Kitchen Faucet?
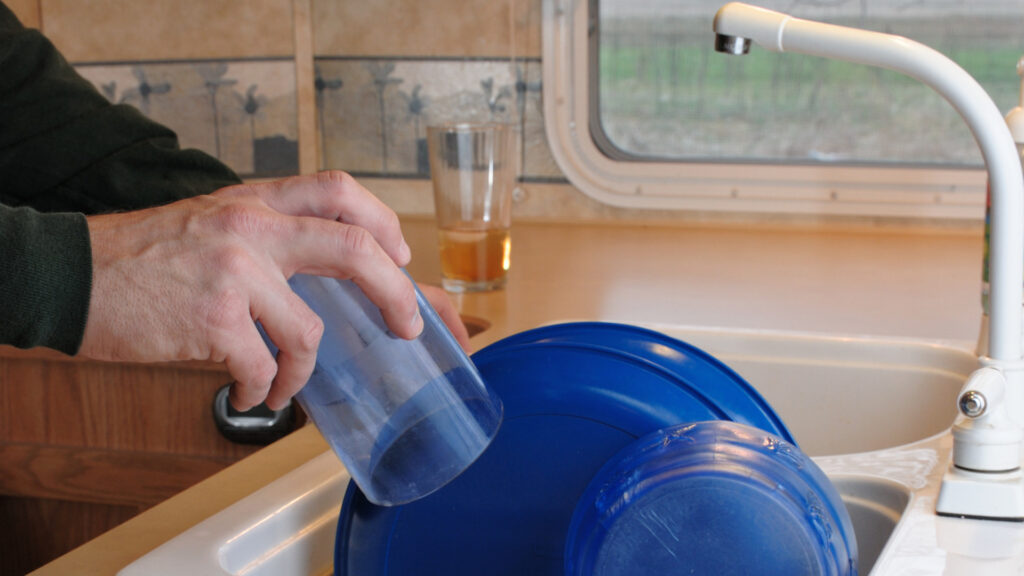
An RV kitchen faucet looks almost identical to a traditional one, except that it’s in an RV. In some RVs, this is the only faucet in the rig.
As a result, many RVers use this faucet to wash their hands, wash dishes and get water to prepare meals. Since it will get so much use, you want a quality faucet in your RV kitchen.
Can You Use a Regular Kitchen Faucet in an RV?
A regular kitchen faucet will work in an RV. However, you may need some adapters to connect it.
In most circumstances, everything will be the same between an RV kitchen faucet and a residential kitchen faucet. If you have a kitchen faucet you like in your home, you’ll likely be able to install a matching one in your RV kitchen.

What Size Are RV Faucet Fittings?
RV manufacturers often use half-inch female connections on the supply lines in the plumbing system. If the fittings installed on your water lines do not match those of your new RV kitchen faucet, you can purchase compression adapters to connect the two.
- 2 pack. Solid brass construction with compression fitting for 100% leak proof usage.
- Size: Inlet 3/8" OD male COMP x 1/2" MIP male union. Compression nuts and ferrules included.
If you have troubles with sizing, your local hardware store will likely be able to help ensure you go home with the appropriate adapters.
How to Easily Replace and Upgrade Your RV Kitchen Faucet
Replacing and upgrading your RV kitchen faucet is incredibly easy. This is one upgrade that can have a tremendous impact on the look and feel of your rig.
If you’re looking to spruce up your RV kitchen and give it a fresh look, consider this for your next project.
Gather Your Tools and Supplies
Before starting your project, you should always gather your tools and supplies.
You’ll want to have the new faucet in hand, but you’ll also need a headlamp, a couple of adjustable wrenches, some thread tape, a few rags, and a bucket. Once you’ve gathered your tools, you’re ready to proceed with this project.
Turn Off Water
You must turn off the water in your RV. When using your RV’s city water connection, you’ll want to go out and turn off the water spigot. It’s also a good idea to also disconnect the water hose.
You don’t want anyone accidentally turning it on while you’re working on this project.
If you’re using your water pump, all you’ll have to do is turn off the power to it. There’s likely a switch that’s easily accessible near a control panel in your rig. Just flip it off, and you’ll be ready to move to the next step in this project.
Remove Pressure from Lines
Once the water is off in your rig, you want to remove the pressure from the water lines. You can do this by turning on the faucet like you normally would when you want to use water.
You’ll likely notice a small amount of water will come out of the faucet before it ceases.
While it’s not always necessary, you can flush toilets and open other faucets to remove all the pressure from the lines. This helps reduce any water that could spill out of the water lines when you move to the next step.
Use Wrenches to Loosen Connections and Remove Old Faucet
Now that you’ve released the pressure in the water lines, you can start disconnecting the old RV kitchen faucet.
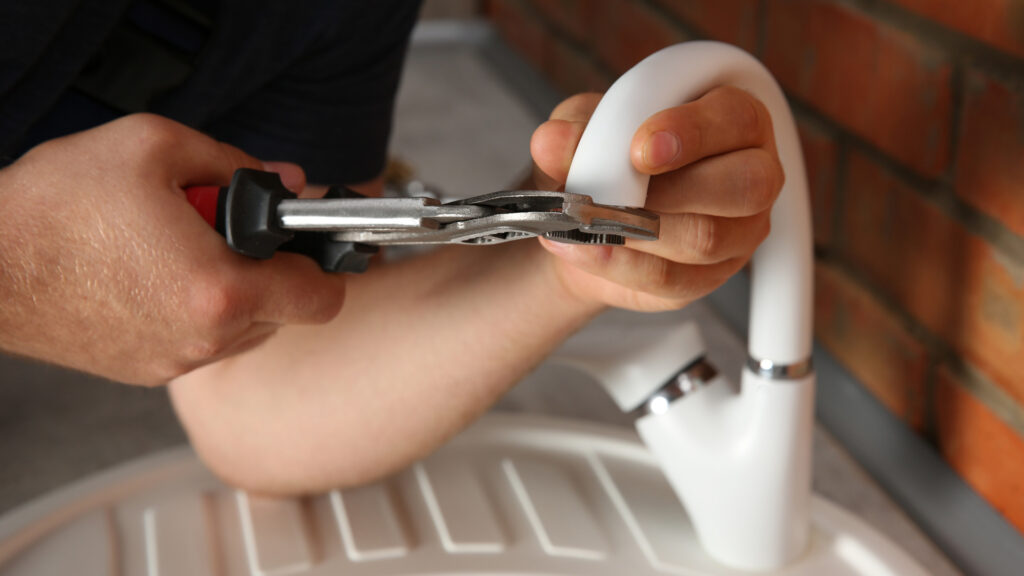
Use your wrenches to loosen all of the connections under the sink. This will include the hot and cold water connections and the nut-style connection to tighten the faucet to the countertop.

Place Thread Tape and Connect New Faucet
You want to ensure you have a solid connection between the faucet and the water lines.
Using thread tape is an excellent way to prevent leaks. Wrap it a couple of times around the threads before screwing the male and female connections together.
Snug Connections with Wrenches
After connecting the water lines, you can start tightening up the connections. However, you want to remember that many of the parts used in an RV plumbing system are made from plastic.
If the connections on your water lines are plastic, you don’t want to use too much muscle while tightening them.
If you do, you could risk breaking these pieces, and you’ll have to replace them before you can start using your new RV kitchen faucet. Since you probably don’t have these parts lying around in your RV, it’ll likely result in an unplanned repair trip to the hardware store.
Test the Faucet
Once everything is connected, you’ll have to turn the water back on and test the system. The process is the same whether you use your water pump or the city water connection.
You want to let the lines pressurize and make sure the connections from each water line aren’t leaking where you secured them to the new faucet.
When testing the water, you want someone operating the switch to turn off the water in case you discover a leak.
Turn the water off at the first sign of a leak and check the connection. If the threads are out of alignment, you’ll need to unscrew it completely and line them up correctly.
If you don’t spot any leaks, you can test the faucet. Turn it on to ensure everything is in good working order and works as it should. If all goes as planned, you just need to clean up messes and put away your tools.
Keep in Mind: Upgrading your RV kitchen cabinets will completely change the look and feel of your kitchen! But Should You Paint or Replace Your Kitchen Cabinets?
RV Faucet Replacement Options
If you’re looking for some RV faucet replacement options, we’ve found several we think are worth considering.
These are quality faucets that will get the job done and look great. Let’s take a look!
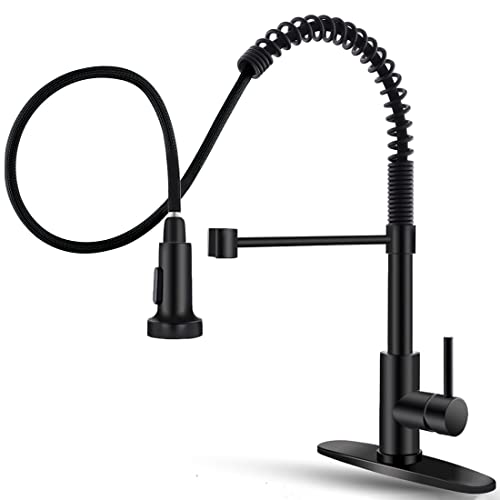
Our Faucet: Black Pull Out Spring Sink Faucet
We’ve gotten some questions about the particular faucet we chose for our rig. We’ve always loved the clean and seamless look of this style. The black colors help to create a bit more luxurious look and feel inside our rig.
It has a soft aerated stream and a splash-free spray setting. We love that it can install with one or three holes and takes less than 25 minutes.
- DUAL MODE SETTING - Your kitchen faucets with pull down sprayer provides soft aerated stream and splash-free powerful...
- HEALTHY QUALITY - The SUS304 stainless steel kitchen faucet. Black kitchen sink faucet made up of food-grade PEX inner...
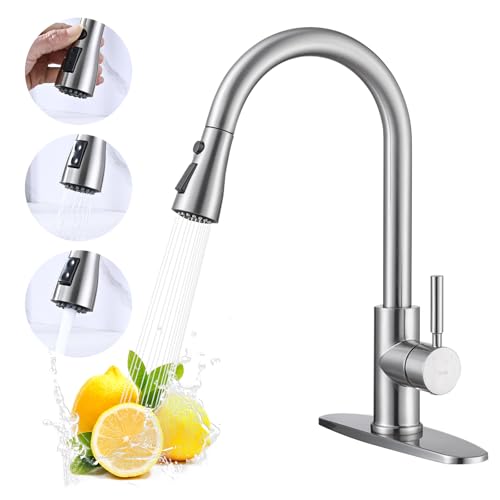
Highest Rated: Stainless Steel Kitchen Faucet with Sprayer
This stainless steel kitchen faucet features a pull-down sprayer and provides optimal height clearance for pitchers, large pots, and any other larger items you need to put in your sink. It features three settings, stream, spray, and pause.
We love that you can cut off the water without reaching down to the faucet handle. This faucet also comes in a handful of colors, making it easy to match with whatever look you’re looking for in your RV.
- Three Modes for Versatility - Multi-function kitchen sink faucet(STREAM, SPRAY, PAUSE) meets varying wash requirements,...
- 10 mins DIY - The pull-out and water hoses come pre-installed in the kitchen faucet. With everything you need in the...
Touchless RV Faucet: Touchless Kitchen Faucet with Pull Down Sprayer
There are so many times when having a touchless kitchen faucet can come in handy. Not having to worry about cross-contamination while making food.
In addition, the faucet features an automatic shut-off that can help prevent you from wasting water. All you have to do is wave your hand in front of the faucet and water will start flowing.
In addition, the pull-down sprayer makes it easy to spray dishes. You’ll have no trouble getting the grime off when doing dishes.
- Touchless Technology: No need to touch the switch with your hand, just wave your hand to complete the switch in 0.5...
- Multifunctional Sprayer: Pull out kitchen faucet with 2 setting modes: stream for filling water, spray for strong...
Budget Option: Two Handle-8″ 360 Swivel Kitchen Faucet
If you’re looking to improve the look of your RV kitchen faucet but don’t want it to break the bank, this is a great option. This ABS plastic kitchen faucet has a chrome coating that makes it look almost identical to stainless steel.
It features a full 360-degree swivel and a 10.63-inch arch to provide plenty of space for you to fit pots and pans in your sink. This dual-handle faucet looks great and gets the job done without your bank account taking a major hit.
Keep in Mind: Camp anywhere with one of these 7 Best Camp Kitchens!
- Chrome finish, metal aerator make wishing effectively and save water
- Metal 360 swivel 10.63" high arch spout provide maximum durability
Upgrading Your RV Kitchen Faucet Is Easy
We hope you can see how easy this renovation project can be. If you have the right tools, you can easily conquer this task in under 30 minutes.
Just make sure you have everything ready to go, so you don’t have to make an unnecessary trip to the hardware store.
If this is your first plumbing project, take your time. There’s no award for finishing as quickly as possible. So take your time and do it right!
Last update on 2025-01-21 / Affiliate links / Images from Amazon Product Advertising API


