Table of Contents Show
For those of us that don’t RV full-time, winterizing is an absolute must. Learning how to winterize your RV is pretty straight-forward! Winterizing your RV protects its plumbing from bursting in freezing temps. It also protects sensitive electronic equipment and deters pests like mice from destroying your rig. Winterizing takes a bit of time and a few items, but it will ensure your RV makes it through freezing temps without a hiccup. To help you out, we’ve put together this guide about how to winterize your WHOLE RV for payback in the spring!
First Things First: Check Your Manual
Before beginning any winterizing activities for your RV, be sure to check your owner’s manual. Many owner’s manuals will include unit-specific winterizing guidelines. If you have manuals for different devices in your RV that use water (ie: water heater, dishwasher, ice maker, washing machine), check that manual also.
Steps for Winterizing Your RV Plumbing System
Once you have everything you need and know where everything is located, this will be a breeze! Here are the steps to winterize your RV water system:
Remove Or Bypass Water Filters
If you forget this step, you will ruin your water filters. If you don’t have a bypass knob for them, remove them entirely.
Drain Black and Gray Tanks
Go ahead and clean them, if necessary, also. You don’t want water sitting in your tanks over the winter, and you definitely don’t want gunk in there either!
Drain Your Water Heater, Water Lines, and Fresh Water Tank
First, drain your water heater. Open the hot water knob on your faucet without the pump on to release pressure. Then, drain your water heater. Next, drain your water lines. Every RV should have a low-point drain. Open every single faucet and your low point drain to remove water from the lines in your RV. Run your water pump for at least 30 seconds to remove all water.
You can use an air compressor to help you blow all the water out of your lines to speed up this process. If you choose to use an air compressor, be sure the pressure is no greater than 30psi.
Bypass Water Heater
Next, you will need to bypass your water heater. This is to prevent filling your water heater with antifreeze. Simply draining the water heater will be enough to protect it in cold weather.
The water heater bypass knobs are typically located where the water lines enter the heater. Check out this article to learn about the different types of bypass valves and how to operate them if you get stuck. If you don’t have a water heater bypass, you can purchase a temporary kit.
Add Antifreeze
Finally, you need to add the antifreeze to your RV water system. You do not need to fill your tanks with antifreeze. Having just a bit of antifreeze in them will protect the drains and seals. The antifreeze will need to be added to your P-traps and toilet bowl, as well.
Antifreeze needs to flow through every water line in your RV. There are a few different ways to go about this depending on what kind of RV and water system you have.
Newer RVs have a winterizing system where you can suck up the antifreeze through a pump. Older RVs may require a hand pump to add the antifreeze to the tank and system.
Depending on your RV type and size, you will need 2-3 gallons of pink RV antifreeze.
Use your built-in electric water pump or manual hand pump to add 2-3 gallons of RV antifreeze to your freshwater tank. If using a manual pump, you will add the antifreeze to the city water inlet.
Once you have your antifreeze added to your freshwater tank, it is time to run it through your pipes.
Starting with the highest faucet, open your hot water knob until pink antifreeze runs from the tap. Close the knob, and repeat with the cold water.
Repeat this step for every single faucet in your RV from highest to lowest point. Don’t forget outdoor showers and the toilet!
Important note: If you have a washer on board, a dishwasher, or an ice maker built into your fridge, it is recommended to take your RV in to have it professionally winterized. Or, check the owner’s manual for your appliances to see if you can DIY it!
Items Needed for RV Winterizing
This is important! Automotive antifreeze will taint your water system and can poison you. RV Antifreeze is specifically formulated for potable water systems.
- Comprised of a length of PEX tubing and crimp rings as well as a fitting for either side, the hot water bypass system is...
- Made in the USA, this RV hot water bypass system is NSF-61-9 Certified as well as UPC/NSF Component Certified
This is only necessary if your water heater is not already equipped with a bypass system.
This helpful gadget will help you clean out your wastewater holding tanks.
- Enables RV water pump to automatically winterize water lines
- Connects inside the RV next to water pump
If you do not have a winterizing system on your RV, you can use a water pump converter kit on the inlet of your water pump to add antifreeze to your RV water system.
- DIY RV Winterizing Kit: Easily safeguard your RV’s plumbing with Camco’s Antifreeze Hand Pump Kit. It lets you...
- Effortless Winter Prep: Transform the winterization process into a simple task. This RV winterizing pump kit streamlines...
This is an alternative to a water pump converter kit. An external manual hand pump will assist you in adding antifreeze to your freshwater system in lieu of other options.
Winterize The Rest of Your RV
Now that your water system is taken care of, you can tackle the rest of your RV. Here are the steps to winterize the rest of your RV:
- Tire Covers and RV Cover. Protects your RV and tires from the harsh winter elements.
- Remove Battery if lead-acid. Cold temps can destroy lead-acid deep cycle batteries.
- Remove any food that can spoil or attract mice.
- Clean storage areas including oven, range, refrigerator, and around dinette.
- Prop refrigerator doors open to prevent odor and mold growth.
- Examine seals around doors and windows, caulk them if necessary.
- Check your roof for small leaks or other damage. Make repairs if necessary, and check all roof seals as well.
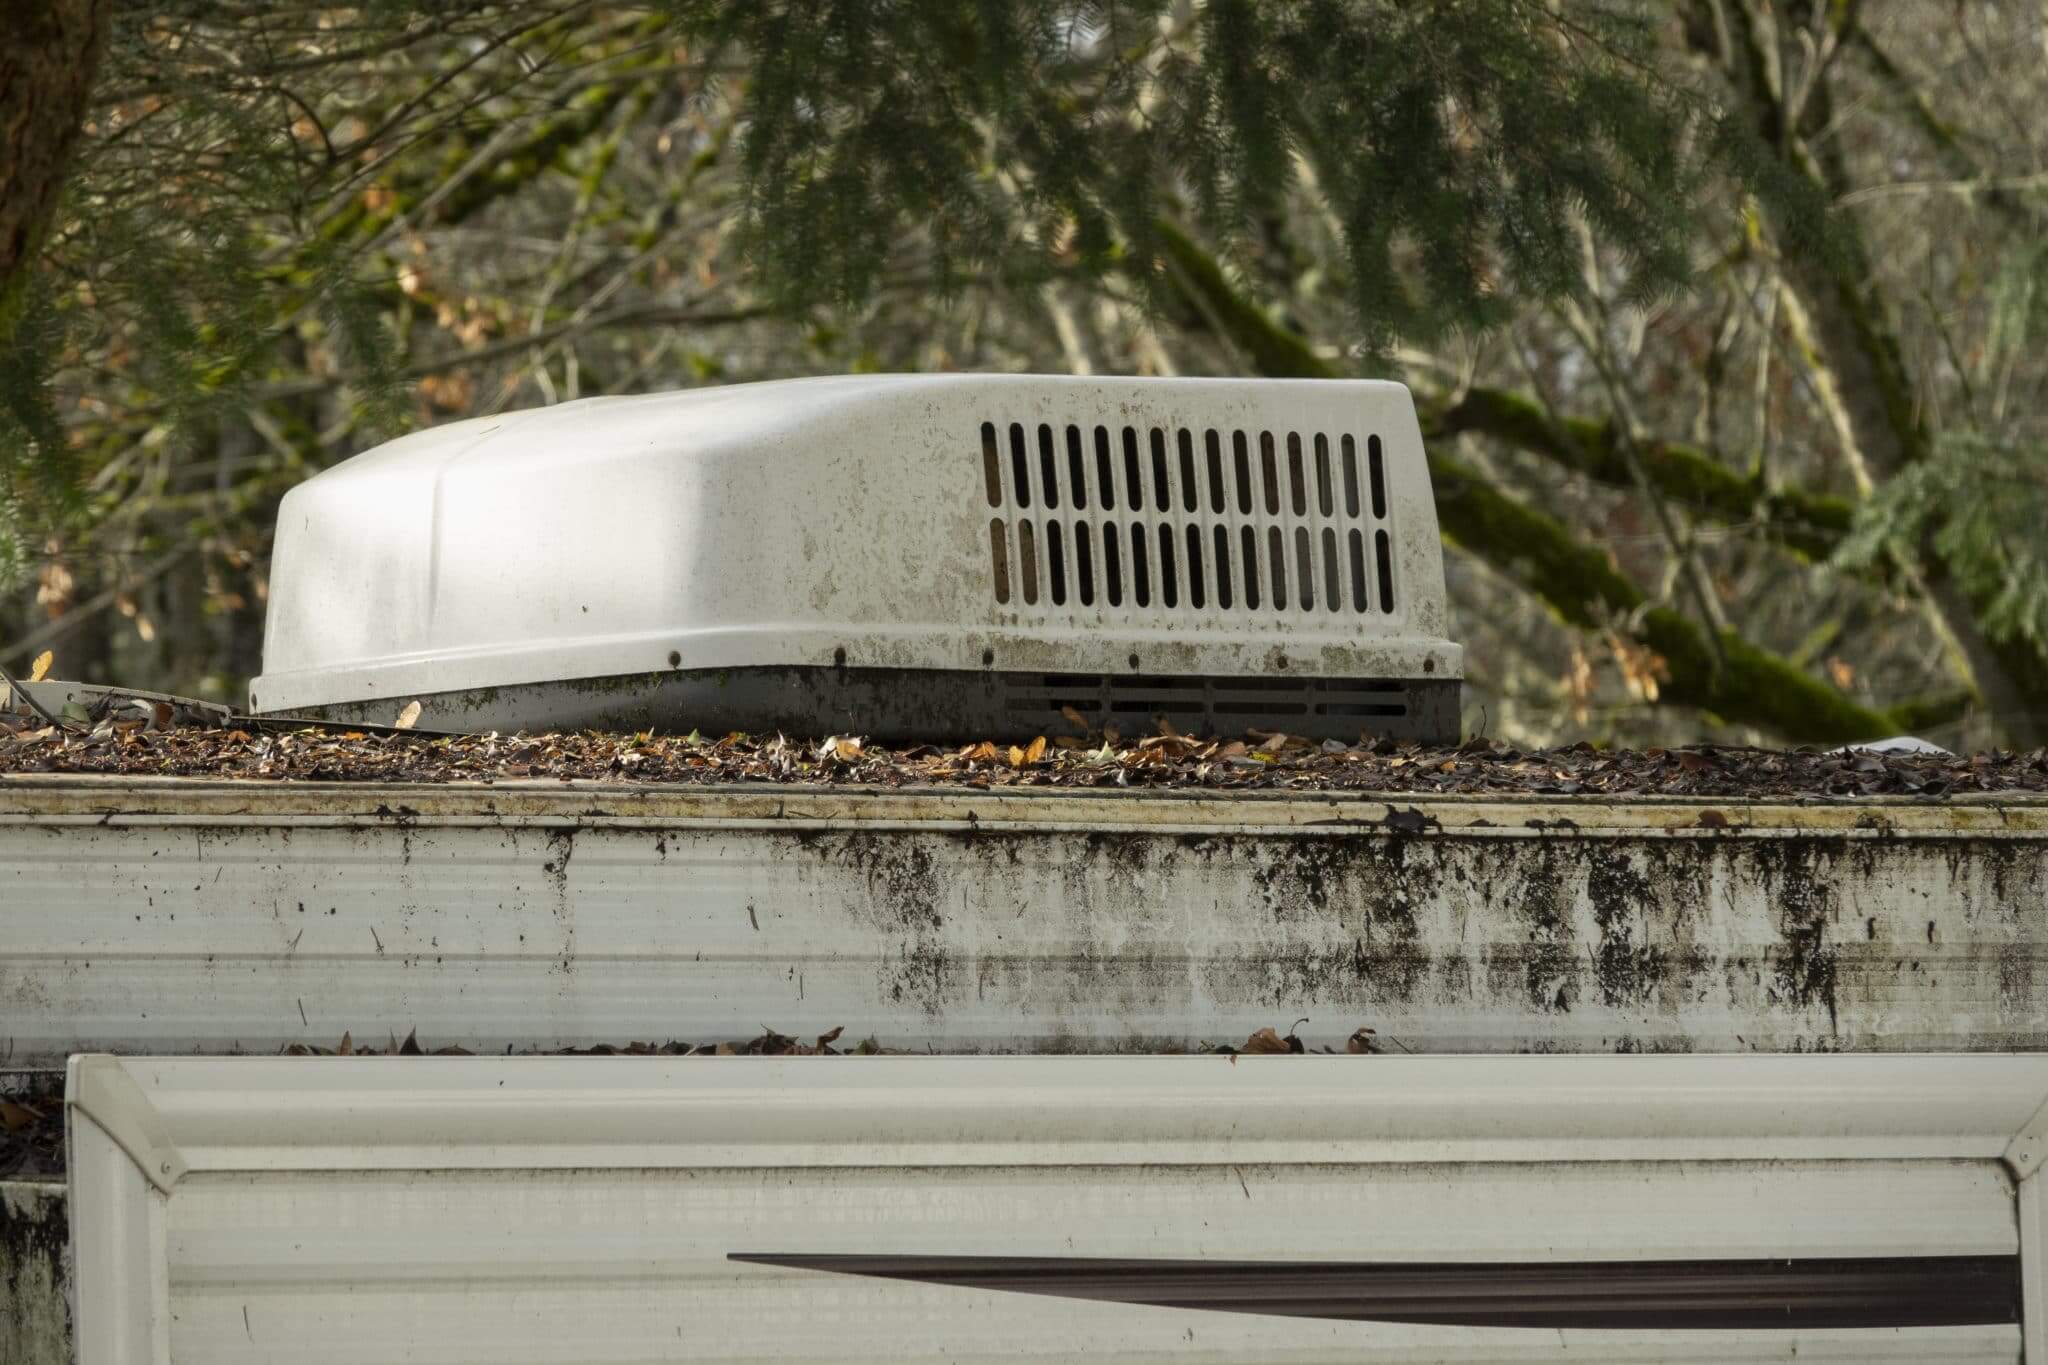
- Check plumbing vents, roof vents, and air conditioner shroud.
- Cover outside outlets or openings.
- Disconnect 120-volt line and store properly.
- Disconnect all electronics.
- Turn off your LP (propane) items.
- Clean and store your sewer hose.
- Replace bumper caps if you have them.
- Park with the emergency brake on and use wheel chocks.
- Stabilize your RV.
- Keep RV out of direct sunlight if possible.
- While you’re at it, you might as well wash and wax!
- Clean the awning.
Winterizing your RV takes time and effort, but the payoff is worth it. Properly winterizing your entire RV gives you peace of mind throughout the cold winter season that your home on wheels is protected. In the springtime, you will come back to a clean RV that is just the way you left it, with (hopefully) no repairs required!
Last update on 2024-12-28 / Affiliate links / Images from Amazon Product Advertising API


I’m an older woman with a 2018 FR travel trailer, my husband really isn’t into rv’ing, he’s retired 3 times in the past 4 years BUT he’s promised this spring we can finally sell the house and live my dream of traveling, buying land/with a small cabin to live a simple life . We’re hard workers and have learned lots about renovating homes, (17 so far), cement/brick work etc., we ‘d like to build the simple life for our last years.We were born in Southern California and loved it), but alas times have changed, sadly),
So my question, what do you do about the battery on the TT while it’s out in the cold in storage outside ? We’re in Ohio it’s pretty darn cold here now 30’s 40’s.
Any info would be appreciated. (I did learn how to winterize the trailer myself on YouTube !