Table of Contents Show
Owning a recreational vehicle is a lifetime dream for many. But with that acquisition comes a commitment to many RV maintenance tasks. Here are 5 that any RVer can handle easily.
Inspect Roof Seals and Seams
Roofs get overlooked quite frequently, but when that first big rainstorm comes and you find yourself dealing with drips inside, you will wish you had investigated your motorhome or travel trailer roof more closely. It’s a straightforward chore with big payoffs!
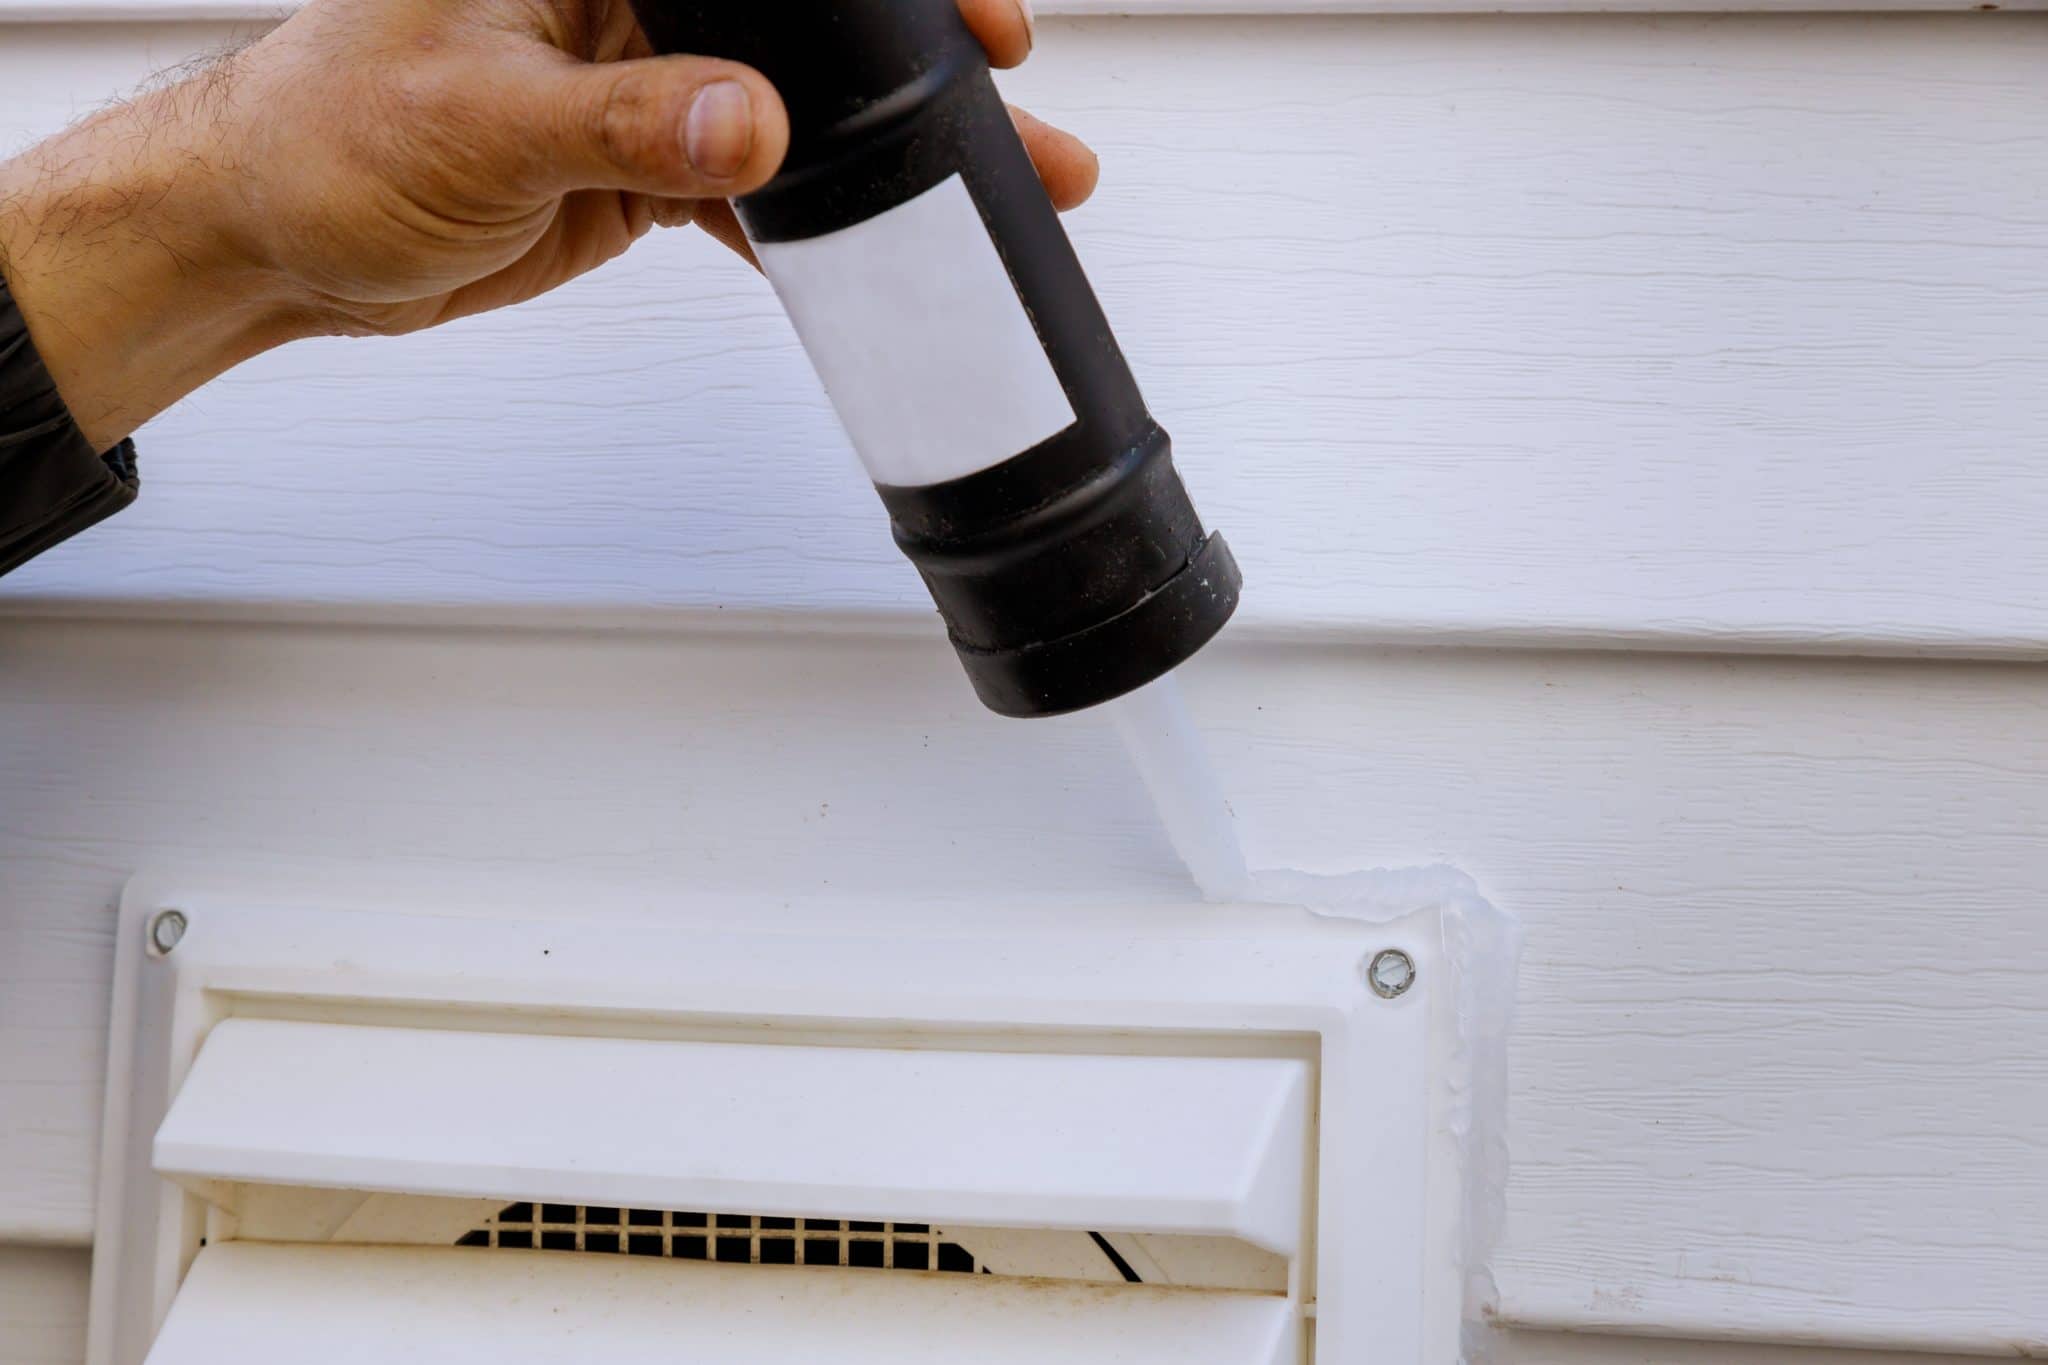
Start by cleaning the roof with good old soap and water. This will give you a better view of any seals or seams that may be leaking or have cracks in existing caulk. Clean and dry the areas you will be maintaining, then, using dicor caulk only, fill each crack and open seam and let it set up until it hardens. Dicor will bond with any previous application or the roof material to protect your rig’s interior from water leakage.
Clean and Treat Slide Outs and Seals
Slide outs are a great option to increase your interior square footage, but they, too, need some yearly maintenance to work properly. Keep in mind that there are interior AND exterior seals on each slide out that protect these ‘extensions’ and help them to move in and out easily.
When inside the vehicle, extend your slides just enough to expose the seals around the sides and on top of the slide. Using a sock, put a dusting of baby powder on the sock and run it around the seals. This will keep the slides from sticking to the surrounding walls when you open them.
Next, extend all slides fully and head outside your RV. Once again, a good washing with soap and water is required on the exterior of your rig. Then take a close look at the rubber seals around the outside edges of the slide outs. To keep the rubber gaskets (seals) from sticking to your paint job, use the baby powder on a sock trick to coat the entire seal with a thin layer of powder that will keep it working smoothly.
Clean Your Awning
An RV awning can actually add an outdoor ‘room’ to your living space at a campsite, so maintaining it to increase its lifespan and keep it clean should be high on your RV maintenance To Do List.
Mix up 5 parts warm water to 1 part Dawn dish soap or bleach in a spray bottle. With the awning fully extended, spray the mixture all over the underside and topside of the awning and let it sit for a few minutes. Then, using a large stiff brush or broom scrub both sides (the top will require being on a ladder), hosing the soapy mixture off when clean. Then let the awning dry completely before retracting.
If your awning has mold or stains, pretreat them with a hydrogen peroxide mixture before cleaning.
NOTE: Using bleach each time you clean your awning will most likely shorten the life of the awning, so vary your cleanings with soap and water.
Check Your Batteries
If you have lead-acid batteries as the power storage for your coach or chassis batteries, you must check the water level in them as a monthly RV maintenance task, even if you are plugged into shore power. If this task gets ignored you will definitely shorten the life of your batteries and may even kill them, as they require distilled water to create electrolysis.
Gain access to your batteries, opening the cells on top of them. The water level should be at top of the inside of the battery case (¾” to 1” below the opening). If any or all of the cells are low, distilled water will need to be added to bring them up to working level. You can add water slowly using a small funnel, then reseal the cell lids.
Test Your Safety Equipment
Safety while RVing should be utmost on the mind of every traveler, and it’s extremely easy to make sure that your safety equipment is in good working condition before you hit the road.
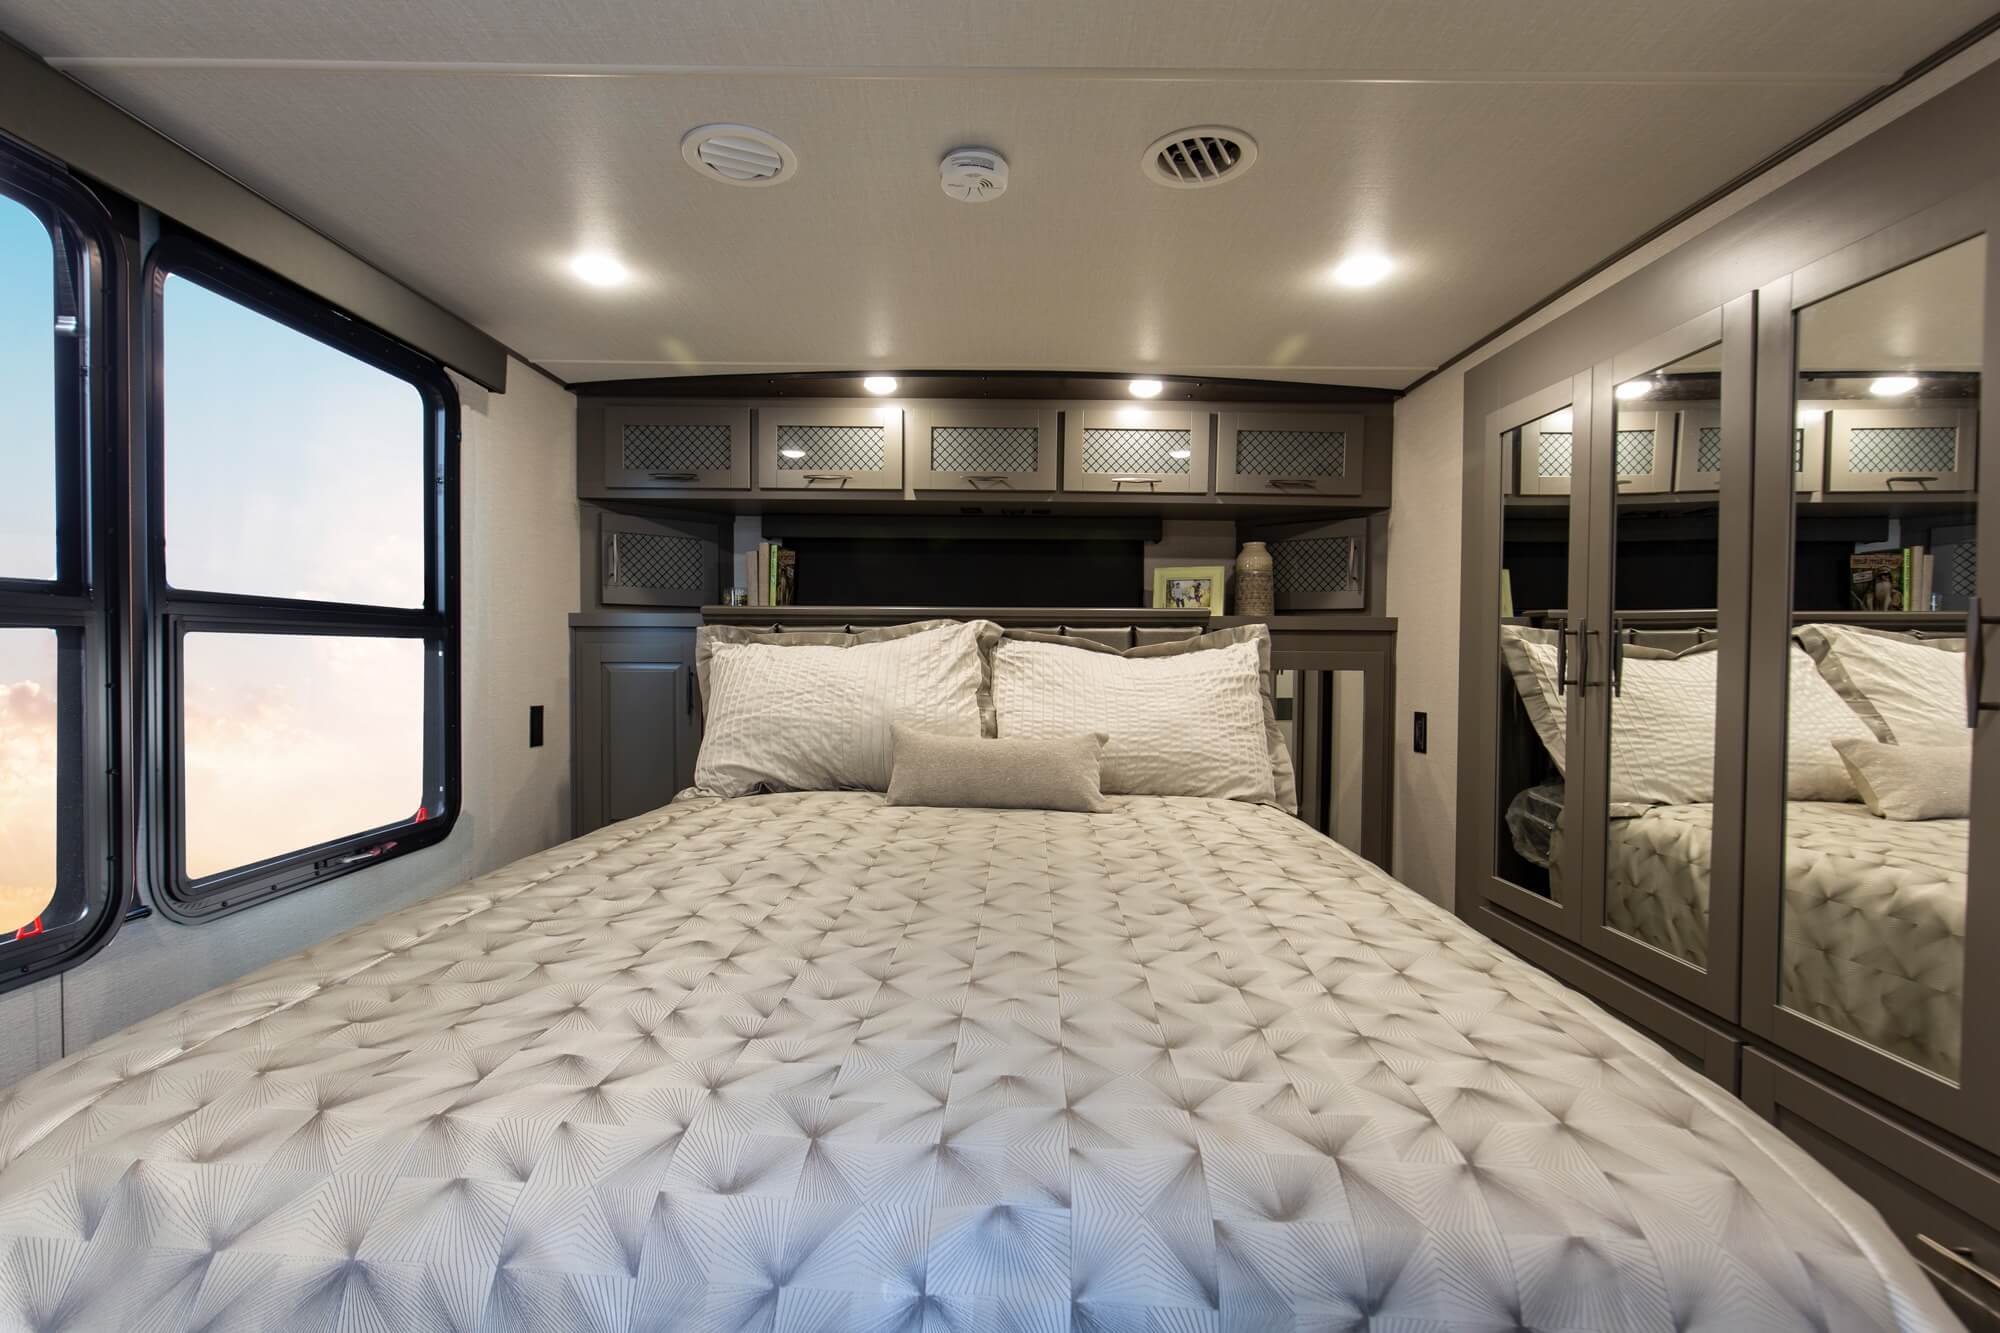
An easy RV maintenance task is to check your smoke alarm monthly, changing the battery at least once a year. As a reminder, many people put in a new battery on the annual Spring Daylight Savings day, but if you are in a state that does not recognize Daylight Savings, that might be difficult! So find a date that means something to you and mark it on your calendar. Then use that date to check the following equipment, as well:
Your carbon monoxide detector is an extremely important gauge and is usually built into many of today’s RVs. It should have a test button, just like the smoke detector, so make sure it is working correctly. If your rig does not have a built-in CO detector, you can purchase a small unit and hang it about 5 feet above the floor – do not hang it directly over a flame-producing appliance like a stove or refrigerator.
Fire extinguishers should not be tested, but do usually have a gauge with red and green sections. They should also have a date of inspection. If the extinguisher is old and has no gauge on it, push the pin in to see if it is still appropriately pressurized.
NOTE: It is a good idea to carry two fire extinguishers, especially if you have a Class A or C or a large trailer. Put one in the kitchen area and one in the bedroom.
Save Yourself Some Headaches with Regular RV Maintenance
A small amount of time spent on each of these areas will most likely save you hours and hours of repairs and inconveniences, as preventative maintenance can help you identify problems before they become troublesome issues.
Last update on 2025-01-19 / Affiliate links / Images from Amazon Product Advertising API


I enjoy your travels and love to watch your bloopers. It shows you work hard and want quality content. I hope to travel with a 5th wheel in about 5 years. I am older than you but you two make it look easy sometimes but, you do show the bad parts which I give you credit for how you two handle these stressful events. Keep up the good work. Even if I don’t post on all your videos, remember I love them. Keep safe. I had to let some YouTubers go from my list of subscriptions because they were not taking the Covid crisis serious and were dining out. Thank you for showing responsibility that every citizen must follow or we will never be able to take off our masks.